
I sent the file to the router and then whipped up a plywood box that would serve as the base structure for the sign. The top and bottom 'metal' band was to be 30 lb Precision Board, like the 'wooden' boards. Everything was cut at a 45 degree angle but tapered - just to make it a little trickier. The hole in the top (and a matching hole in the bottom) was for the transformer and wiring for the LED lighting.

For the smoke trail and flying saucer support I decided to stick to what I knew best - welded steel. I bent up a piece of 1" x 1" square tubing and welded it to a steel plate which I bolted to the plywood. Then I whipped some pencil rod into graceful curves and welded this on to support the expanded mesh which in turn would support the sculpting epoxy.

When I was done it looked like this. The 'T' shaped steel rods at the top will be laminated inside the flying saucer halves.


I left one side of the box off. I would glue it on then as a demonstration piece at our Sign Magic Workshop which was held back in October.

At our Sign Magic Workshops we try our best to cover every aspect of our projects we possibly can. Some folks have never glued High Density Urethane before and so it is one more thing to learn.
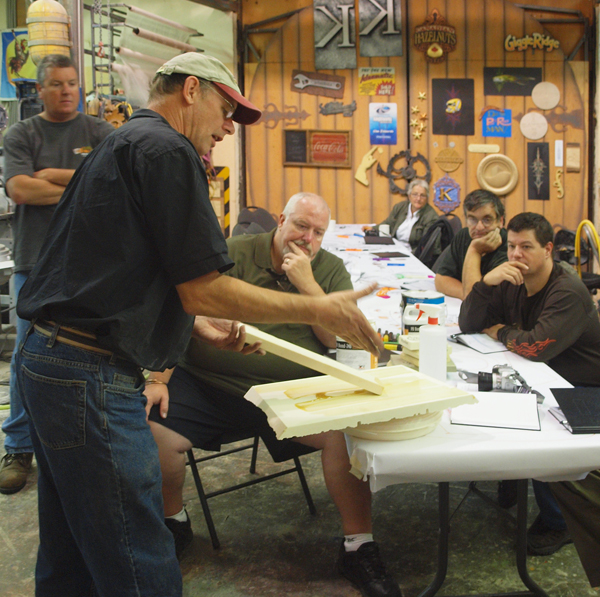
Then as a class project I first demonstrate how to tie wire onto a frame and then everyone jumps in to try their hand at it. They quickly learn that everything we do is an acquired skill, best accomplished with lots of practice.

At this workshop the theme was 'A' for alien. My alien of course was the little fellow that would pilot the space craft. He measures about 8" tall. Here we are testing the effect LED's would have from the instruments on his flying saucer.

The flying saucer file was built at the workshop and routed while we were doing other things. Here one of the students is giving me a hand assembling it on the structure.

And lastly I decided to check the height of my little creature in the space ship. The glass dome had been already ordered. Some minor adjustments were in order. We got a rough coat of epoxy on the smoke trail at the workshop but little else. It was an eager bunch with lots of questions. I was kept pretty busy the entire weekend. Right after that our shop got really busy too. The flying saucer project would simply have to wait it's turn.

Next time I'll post the progress we've made from this point...
-dan