
My most favourite way to create textures in EnRoute is to use bitmaps. The possibilities are literally endless. The principles are simple. The bitmaps are read, pixel by pixel and then the EnRoute Program assigns a value to each. In normal settings (add to) black does nothing, white raised the relief to the full height of the number you enter and greys do something in between depending on their value.
As always we start with a vector outline. I then create a relief (in this case a flat relief). It can be any shape you wish.


If you are new to the program it is best to render what you create after every step. This will let you know what happened. If it is not what you expected then you have to change something.

I then imported a bitmap from my TEXTURE MAGIC COLLECTION. I make all of my own bitmaps and have amassed more than a hundred so far. These are sold on a DVD collection. In this case the bitmap is called addition. It is a black and white bitmap with hard edges. The bitmap will open to the size of your plate. In most instances this is far too small and so I then resize it as per my needs. The relief is visible as a greyed area. To see it clearer merely hit the render button.

Once you have the bitmap sized and positioned correctly you need to open the correct box. I keep this tool bar at the top of my screen. To make the button active you will need both the relief and bitmap to be selected.

When you open the dialogue box with the button you will see this box. I put a vale of 0.2" This means the white area of the bitmap will raise the relief areas 0.2" The black will do nothing,]

When you hit apply the results are instant. If you render it you can see what happened.

Even after eight years of doing this I still check multiple views to make sure it happened as I knew it would.

If the edges of the bitmap are blurred the relief will reflect that same thing. The transition from black to white is very soft on this texture.


We can reply;irate any texture I can imagine using bitmaps. I just have to keep in mind what the bitmaps do. Dark is nothing while pure white raises the surface. In this case I have a mostly texture with some dark wiggly lines. It is called 'CRACKED UP' and looks a lot like dried mud when we are done.


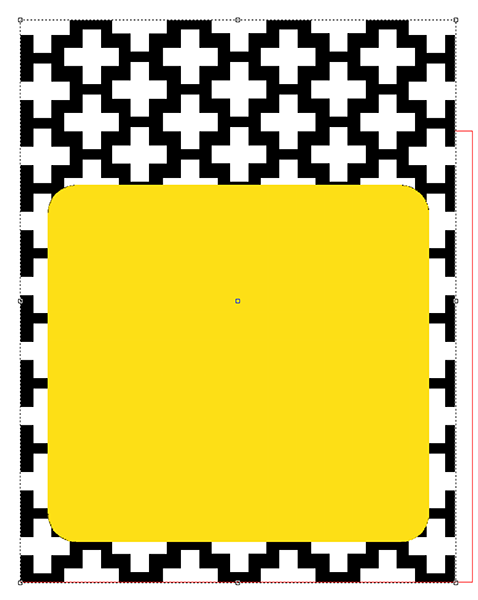
This is a new one which will be on the next TEXTURE MAGIC DVD collection. It is called 'DOUBLE WEAVE'.

This one I use often and it is called 'driftwood.'


The next one I also use a lot. It is made from a heavily tweaked picture of sandblasted redwood. I did the sample blasting more than twenty-five years ago. You can see from the picture that the bitmaps can be enlarged a great deal and still look right.


The next one is fun! It is a digitally tweaked bitmap of a fossil fish. Applied to my flat relief it looks good but we aren't finished yet.


I also like to create certain effects using bitmaps such as a waving flag. This is done using a blended or graduated bitmap. To get a more dramatic bend in the surface simply type in a bigger number. In this case I used a value of 0.5" which is a fairly large number on a piece this small.


Any number of things can e created using bitmaps. This one of called 'spaghetti' with predictable results. It was inspired by my grand daughter's scribbles when she was young.

