
Bailee's name tage was the next one up, fairly simple but with a couple tricky moves to make it better. As always we started with the vectors.

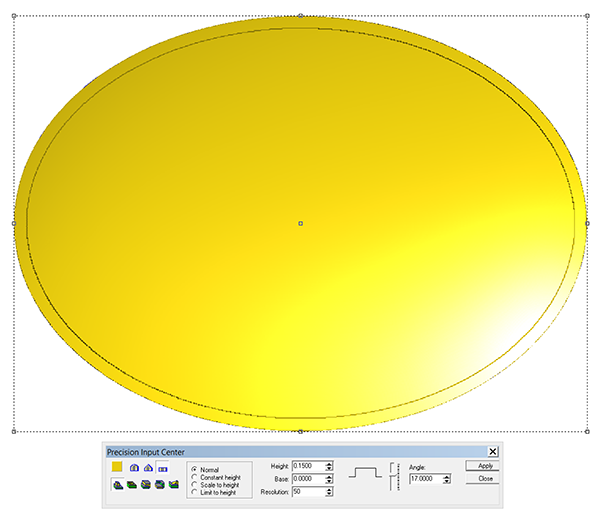
The oval name plaque has a border that will be plain and so the first relief we create was done using the doming tool. Everything would be built off of that.

Then I modified this relief by raising the venter portion.
Then I rased the lettering border by selecting both the base relief and the lettering border vector.


Then it was time to add the texture. I imported the wiggly line texture from my TEXTURE MAGIC COLLECTION. I enlarged it enough that a 1/8" balloons bit would cleanly route it. Then I carefully entered it on the plaque. Then I selected the base relief, the inside oval and the lettering outline. This controlled where the texture would go.


The last step was to create the bevelled lettering using the prismatic tool.

Then it was time to tool path the piece and send it off to the MultiCam to be routed from 30 lb Precision Board.