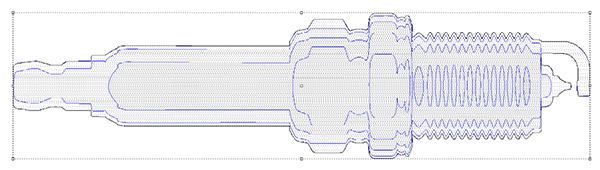
Slicing is really simple once you understand what is happening and how it works. Getting there was confusing to me but then again I have to bumble through something a few times to get a handle on it. The six foot tall spark plug was almost nine inches deep and our material was only two inches thick. Hence the need to slice.
To open the slice box go to SURFACE>SLICE
When the box opens everything is greyed out and the menu instructs you to select the relief you wish to slice.
On selecting the relief it will tell you how thick your relief is - in this case 9.915" tall.
Since we need our slices to be 2" thick I changed the thickness number to 2" (on the left box) I also selected the CREATE ALL SLICES BOX.
When I hit the green arrow it automatically does the slicing. The thing to remember is that it does not slice the original relief but simply creates new slices which are stacked inside the origin relief.
On separating them it looks like this...
When I look in the end view I see they are all on different levels. I selected them all and them dropped the reliefs to the bottom of my plate.
At this point they can be tool pathed and cut from 2" material.